By JASON GOH
alltherage@thestar.com.my
YOU have probably seen pictures of people doing it. Maybe, you’ve even tried doing it yourself, while others might have thought about attempting to do it, but never did.
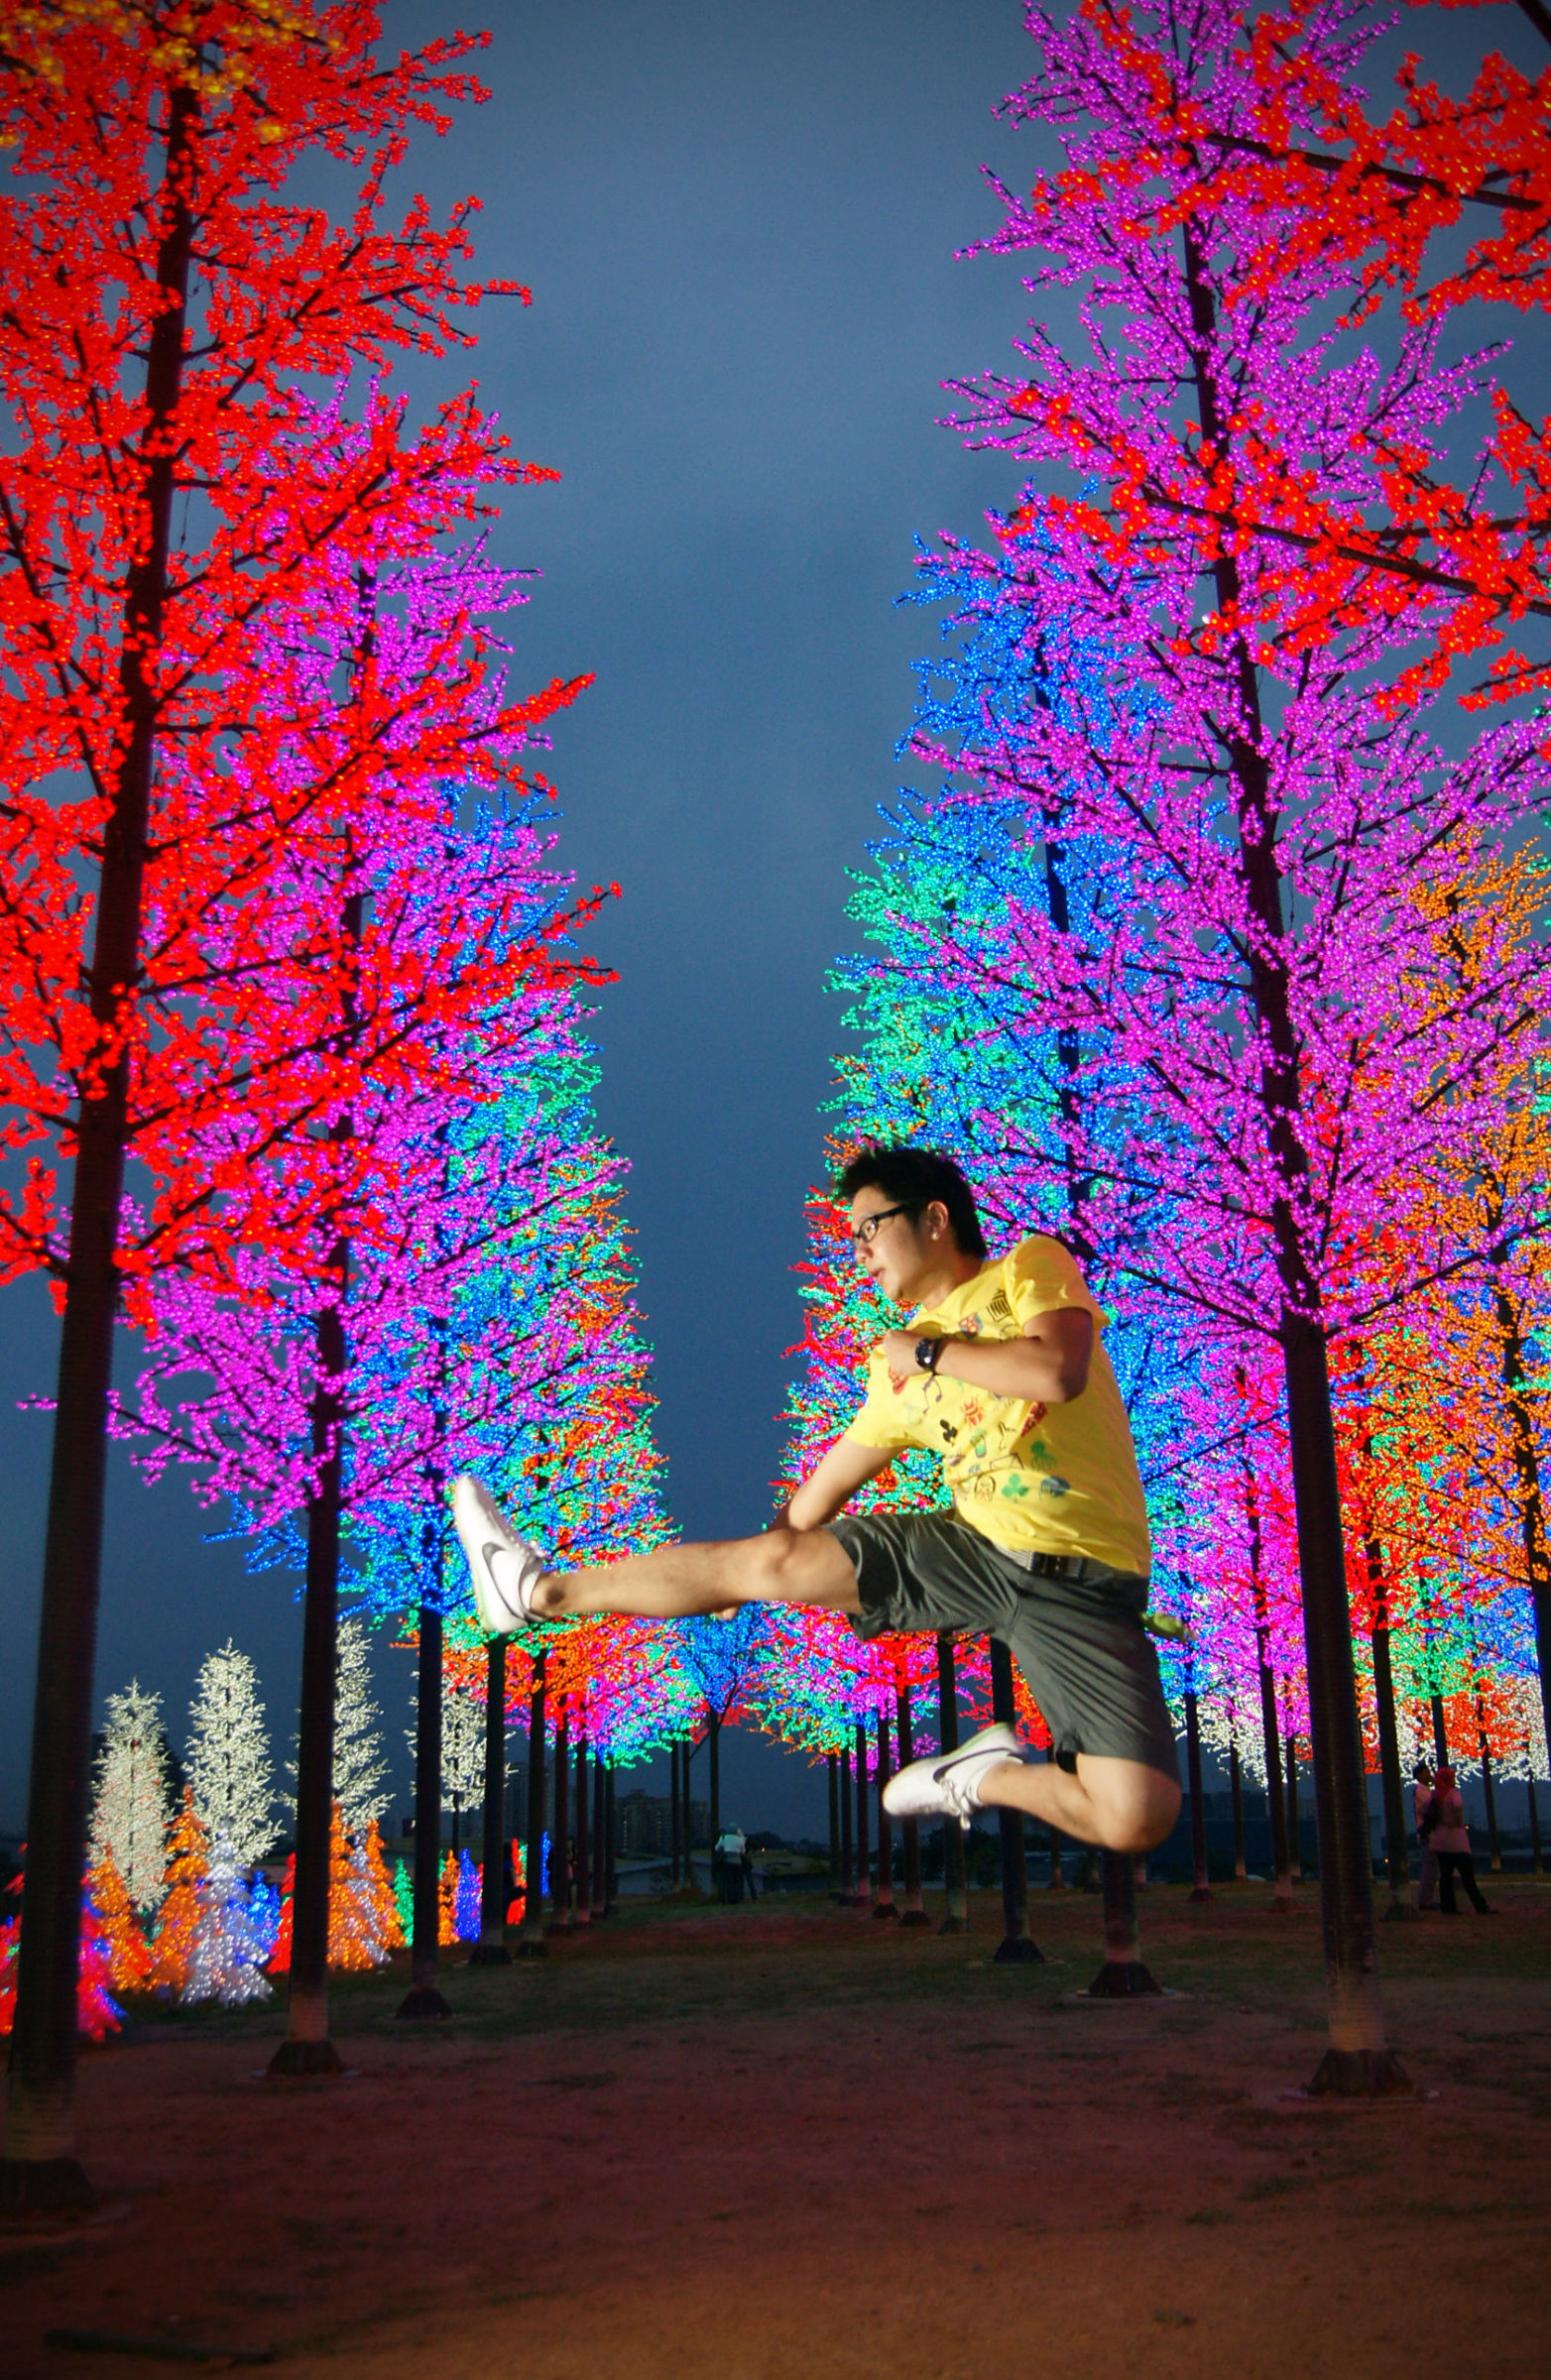
We’re talking about jumping, specifically, jumping in pictures.
Every now and then, some of us would get the urge to take pictures of ourselves jumping. However, not everyone can take awesome jump shots as you would not only need perfect timing to snap the picture, your subject would need to have just the right expression on his face, too.
I started jumping in pictures in 2005, and through years of practising and experimenting, I have garnered a few ideas on how to take the best jump shots.
Before you start experimenting on your own, take note that jump shots are best taken in the day time as your pictures will turn out sharper, thanks to the usage of faster shutter speed.

It is actually not that hard to take these kinds of pictures. For digital single-lens reflex (DSLR) camera users, I would recommend switching to manual mode and customising all the settings to fit your needs.
A fast shutter speed is a must; try something that’s about 1/160 or faster. With that kind of speed, you need to increase the ISO or aperture opening in order to get more light. You could something like a shutter speed of 1/160, with an ISO 800 and aperture of f2.8 or bigger. With that kind of speed, your subject matter – the person who is doing the jump – will definitely look sharp in the picture.
Don’t worry too much if you’re not using a DSLR or any kind of professional camera, as you can still take good jump shots with a compact camera. It’s actually easier to take the shots with a compact camera. All you need to do is to switch the scene mode of your camera to “sports”, which automatically turns your camera into one with a fast shutter speed.
If you are not sure if the sports mode will deliver good enough pictures, try the “burst” mode instead. This mode lets you take multiple frames with just a single press of the shutter button. Multiple shots allow you to capture the whole process of jumping – lifting off from the ground, floating in the air and then landing on the ground again.
Once you’ve set your camera properly, it’s time to take your picture. Choose an area that’s suitable for one to freely jump about; you don’t want to break anything while taking the picture!
The photographer would also need to coordinate with the subject or the “jumper” to get the timing right. It is better to do a three-second countdown rather than to just instruct your jumper to “jump now”, as both of you would need those few seconds to prepare.
You should also be intuitive and know exactly when to press the shutter button. The trickiest part of this process is looking into the viewfinder and predicting when the subject is at his highest point of the jump.
Getting this part perfect comes with a lot of practice, experience and patience.
To make the jump shots more interesting, your jumper could try putting on different expressions on his face to depict different moods or even to tell certain stories. The most common shot is to jump backwards as if to show that the subject has just been kicked in the stomach.
You could also try putting a broomstick in between your thighs, to make you look like you’re flying on a magic broom!
When you’ve practised enough of these shots, try and make the picture look more dramatic. You need contrasting lights, and the best way to achieve that is by using the flash tool. Place your flash bulbs at the side or from a lower angle – it will be triggered when you take the jump shots (that is, if you have correctly set the wireless trigger option).
I mentioned that you need to bump the ISO or increase the aperture to gain more light. However, when you have a flash, you should lower everything down so that you get a darker photo. The flash will illuminate the subject, thus creating a dramatic feel, just like those in movies. Try it yourselves and you will know what I am talking about.
To those without DSLR cameras or wireless flash, there is always Photoshop! No, I am not asking you to overlay a separate jump shot onto a background scene. I am saying that you can do some tiny editing to increase the feel or impact of the jump shot.
Try adding some contrast lighting, lowering saturation or just adding some simple effects will contribute to the overall feel of the photo. Photoshop can also help when you have under-exposed or over-exposed photos (since the settings for jump shots may be done wrongly), fixing them to have a better brightness and clarity.
So there you go, some tips on how to plan, take and edit jump shots. It’s something everyone can do, really. Try out the settings mentioned above but of course, depending on the environment, you may need to tweak the pictures a bit.
q Jason would like you to view his jump shots in the album “The smashpOp Jumpiation” at www.smashpop.net/smashpop-jumpilation. Follow him on Twitter (@smashpop).
Leave a reply